Top 10 Things that Go Wrong with Vanagon
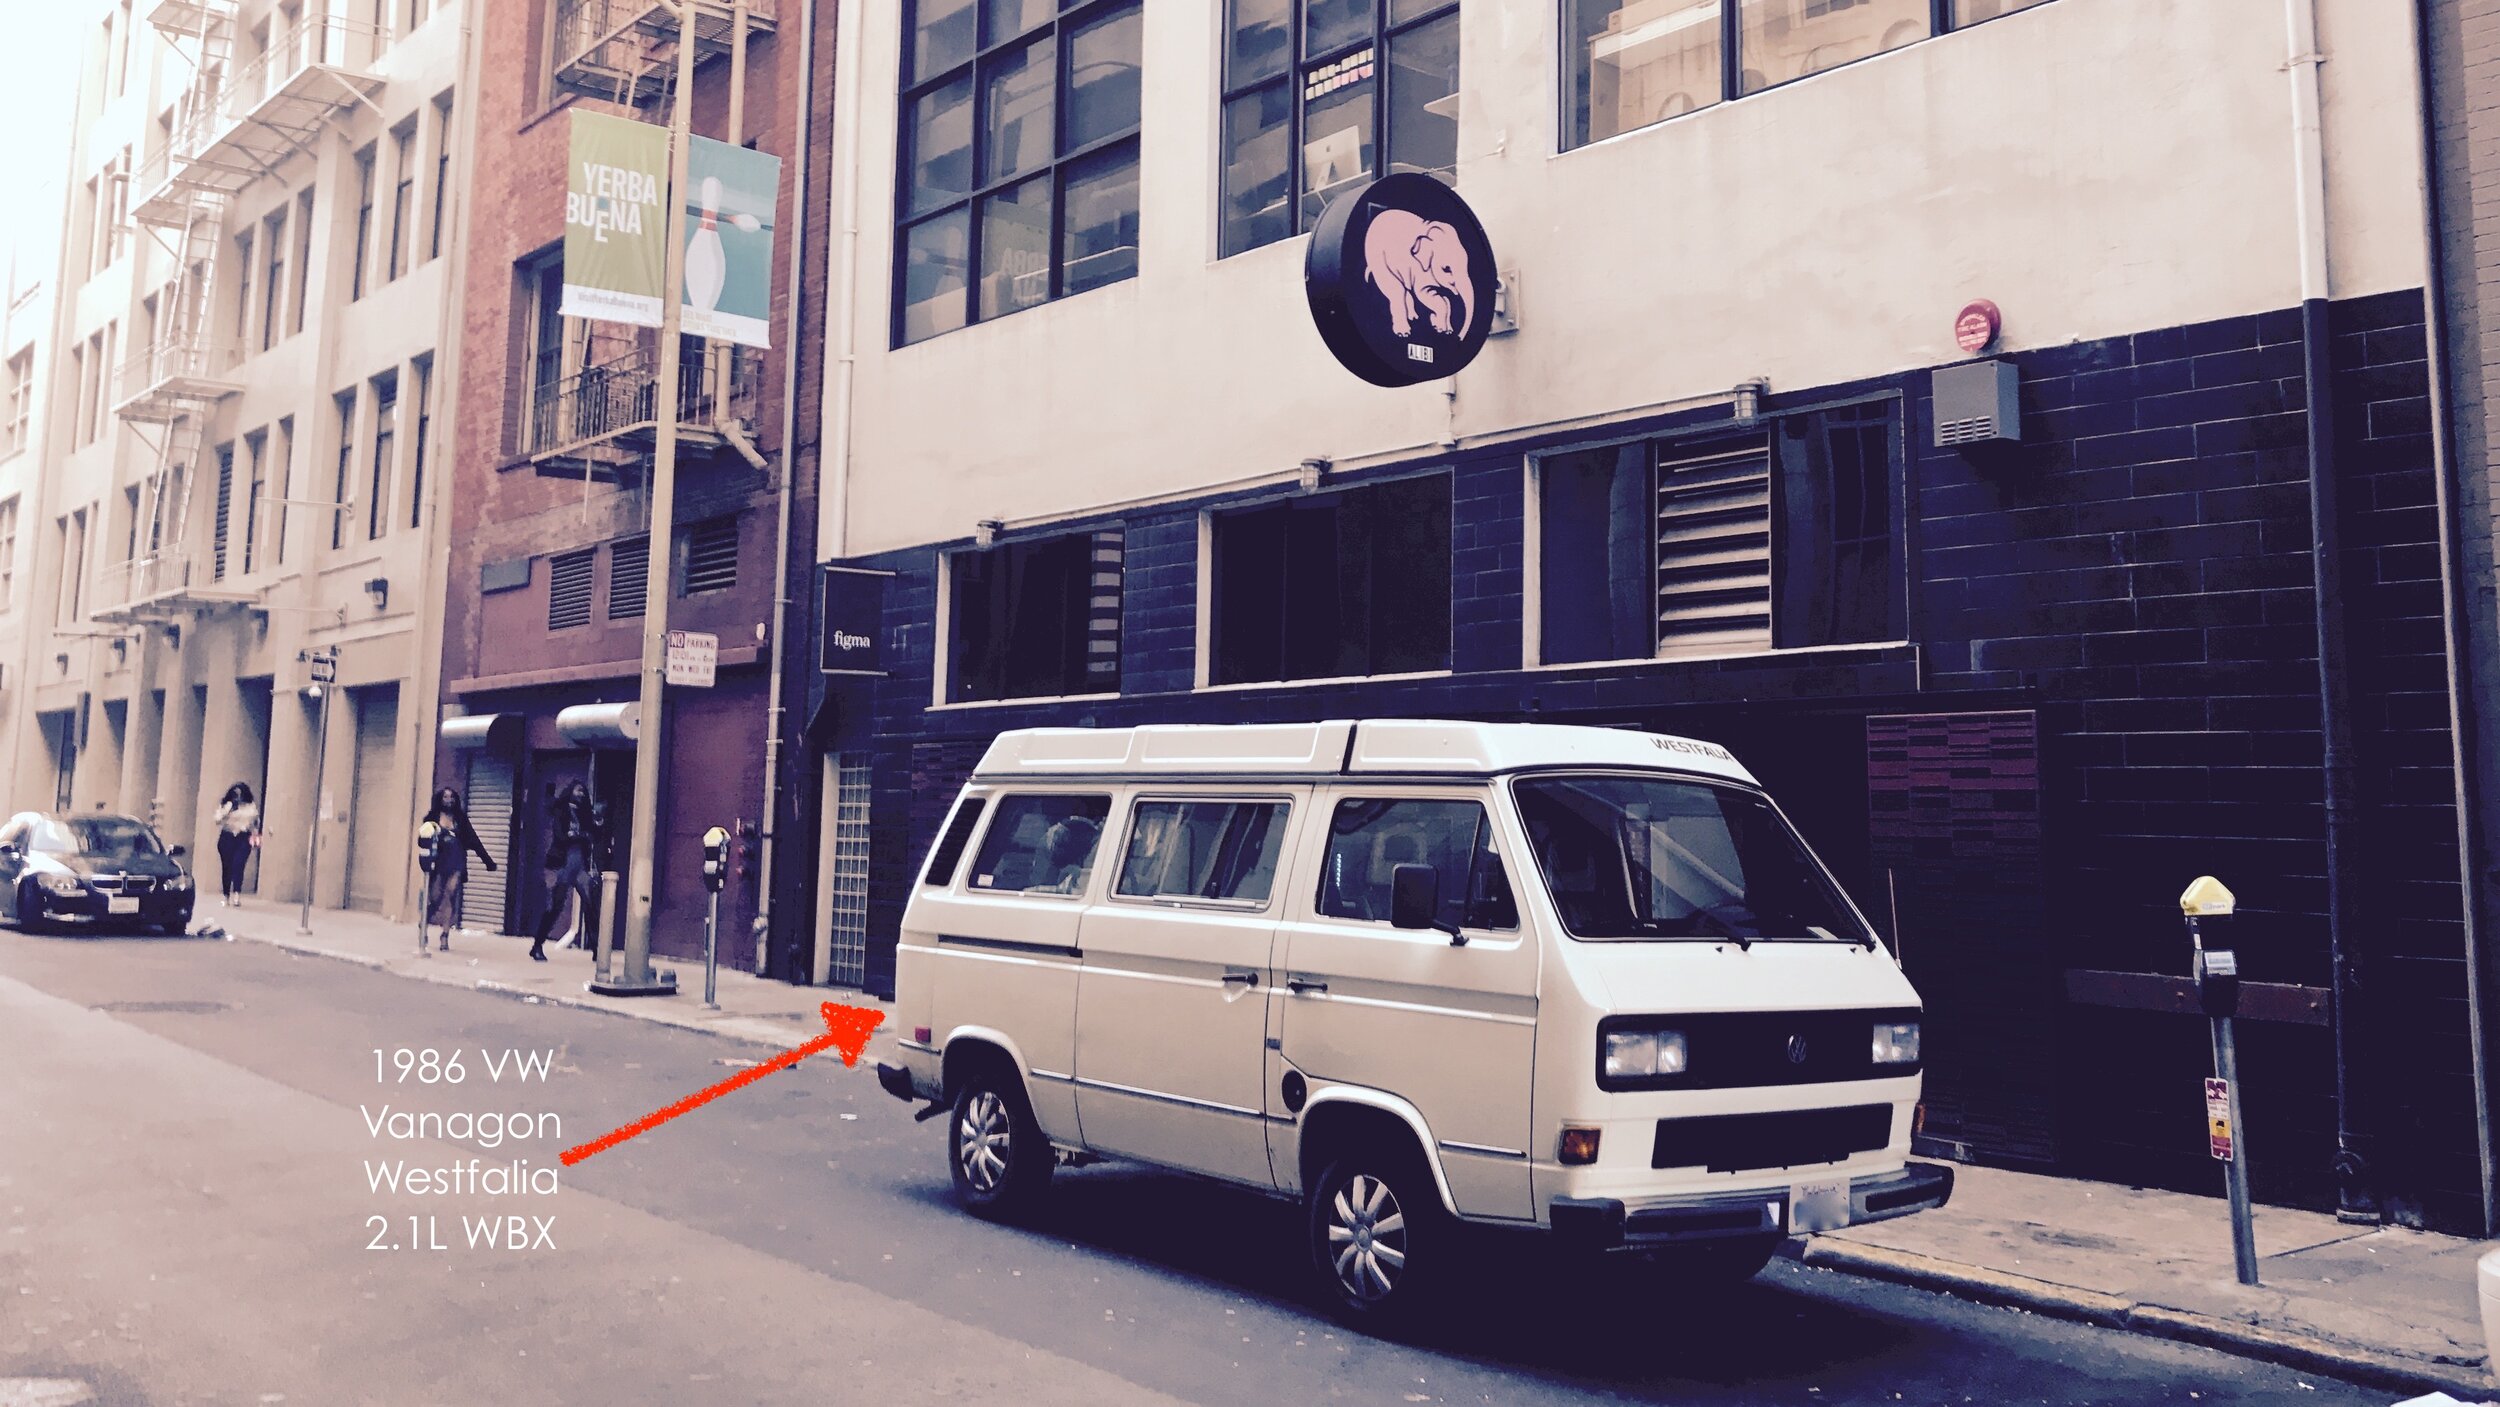
A year after I purchased my 1986 Type 2 T3 30-year-old Vanagon the engine showed signs that it was about to grenade. Wow. I had taken several long trips in it and knew the engine was original and probably had not been properly serviced before.
What I learned from that experience is that there are at minimum 10 issues that are common to failure for this particular Vanagon. Other issues can happen too. Like an alternator bracket that broke on my Vanagon and took out several engine belts. To keep things simple I’ll narrow it down to the Top 10. To learn more about Volkswagen’s decision to cancel Vanagon read this article.
One of the reasons you’re here is that you either own a Vanagon, or are considering buying one.
So what is it about the Vanagon (both air- and water-cooled) that makes it a challenging vehicle to own?
What do I need to know about this vehicle to make it reliable and fun?
What are the common issues?
Can I do any of the work myself?
Let me start by saying Vanagon (no matter the model year) ownership is about preventative maintenance. Even facing mechanical disasters like “head gasket failure” the mighty Vanagon WBX can survive with simple maintenance. GoWesty laid this out perfectly by suggesting that “head gasket/water jacket failure can be nearly avoided if you do a periodic flush of the entire coolant system to fight corrosion.”
Back to my original thoughts. It’s a challenging vehicle because it is an old platform. It’s not like owning a new Honda. Before you start tinkering with anything go online and look for the Bentley manual for your year vehicle. Also, get familiar with The Samba online.
You don’t have to know everything about Vanagon to enjoy one. I don’t know nearly enough. I know very little compared to others, but I try to study everything at least at a glance. Looking back, I might have benefited if I had known the Top 10 Things That Go Wrong With Vanagons before buying mine.
You can make these vehicles extremely dependable. I’ve driven my Vanagon tens of thousands of miles across open deserts and into the forests of Canada without a single issue. I do about 50-70 percent of the work myself. If I had a decent lift I would be doing much more.
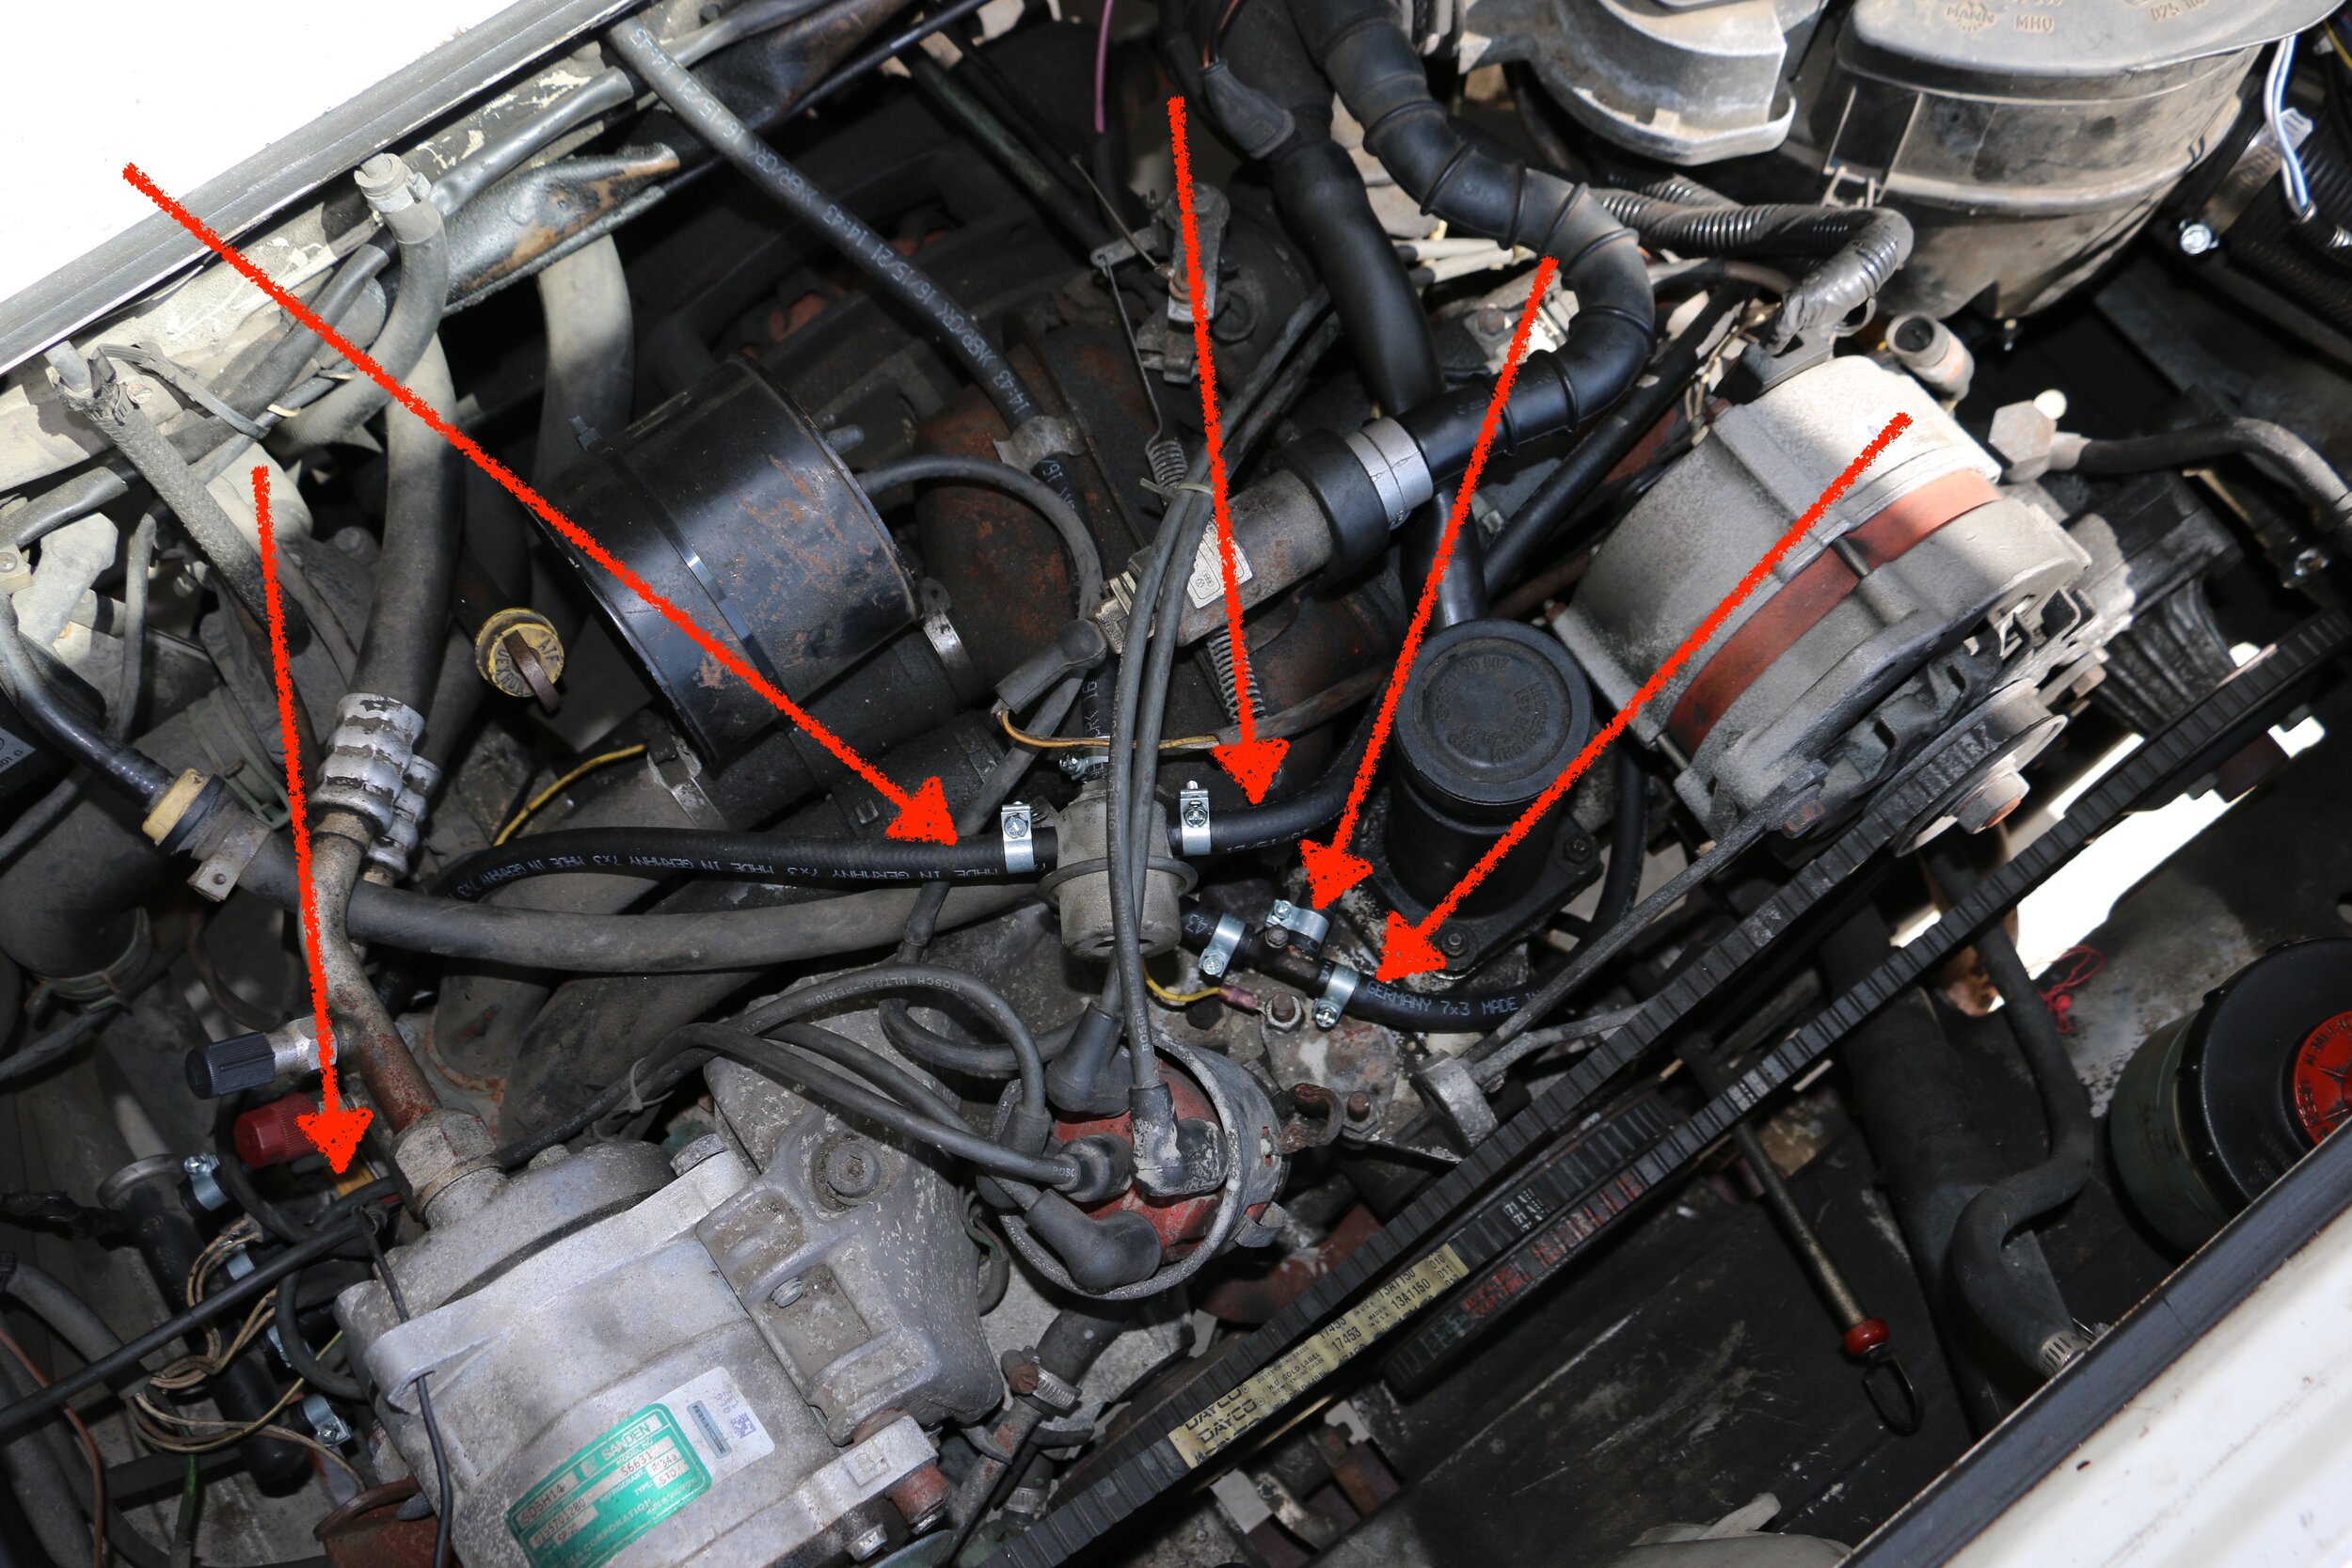
At #10 is Fuel Line and Injector Trouble. This is all over the Web! One of the biggest culprits of on-board fires in Vanagons comes from aging, neglected fuel lines. If you just bought a Vanagon, no matter how shiny it looks on the outside, it would be wise to replace the fuel lines before you do anything else (unless the previous owner shows you a receipt that says it’s already been done). Be mindful that there are specific fuel lines to buy. Do some research first. There are “fuel only” lines and other lines for coolant, etc. Buy only quality fuel lines. Use 7mm German hoses and crimp-style clamps, not the cheaper worm clamps found at hardware stores. GoWesty is one supplier, but others offer German hoses and clamps.
The problem is rotting rubber and weak, cheap hose clamps that allow fuel to spill directly on the hot exhaust system over time. A leaky injector is just as dangerous.
There are detailed stories about fuel line replacement. Here'sone that goes into detail. With some mechanical skills and the right tools, you can do the work yourself, or hire it out.
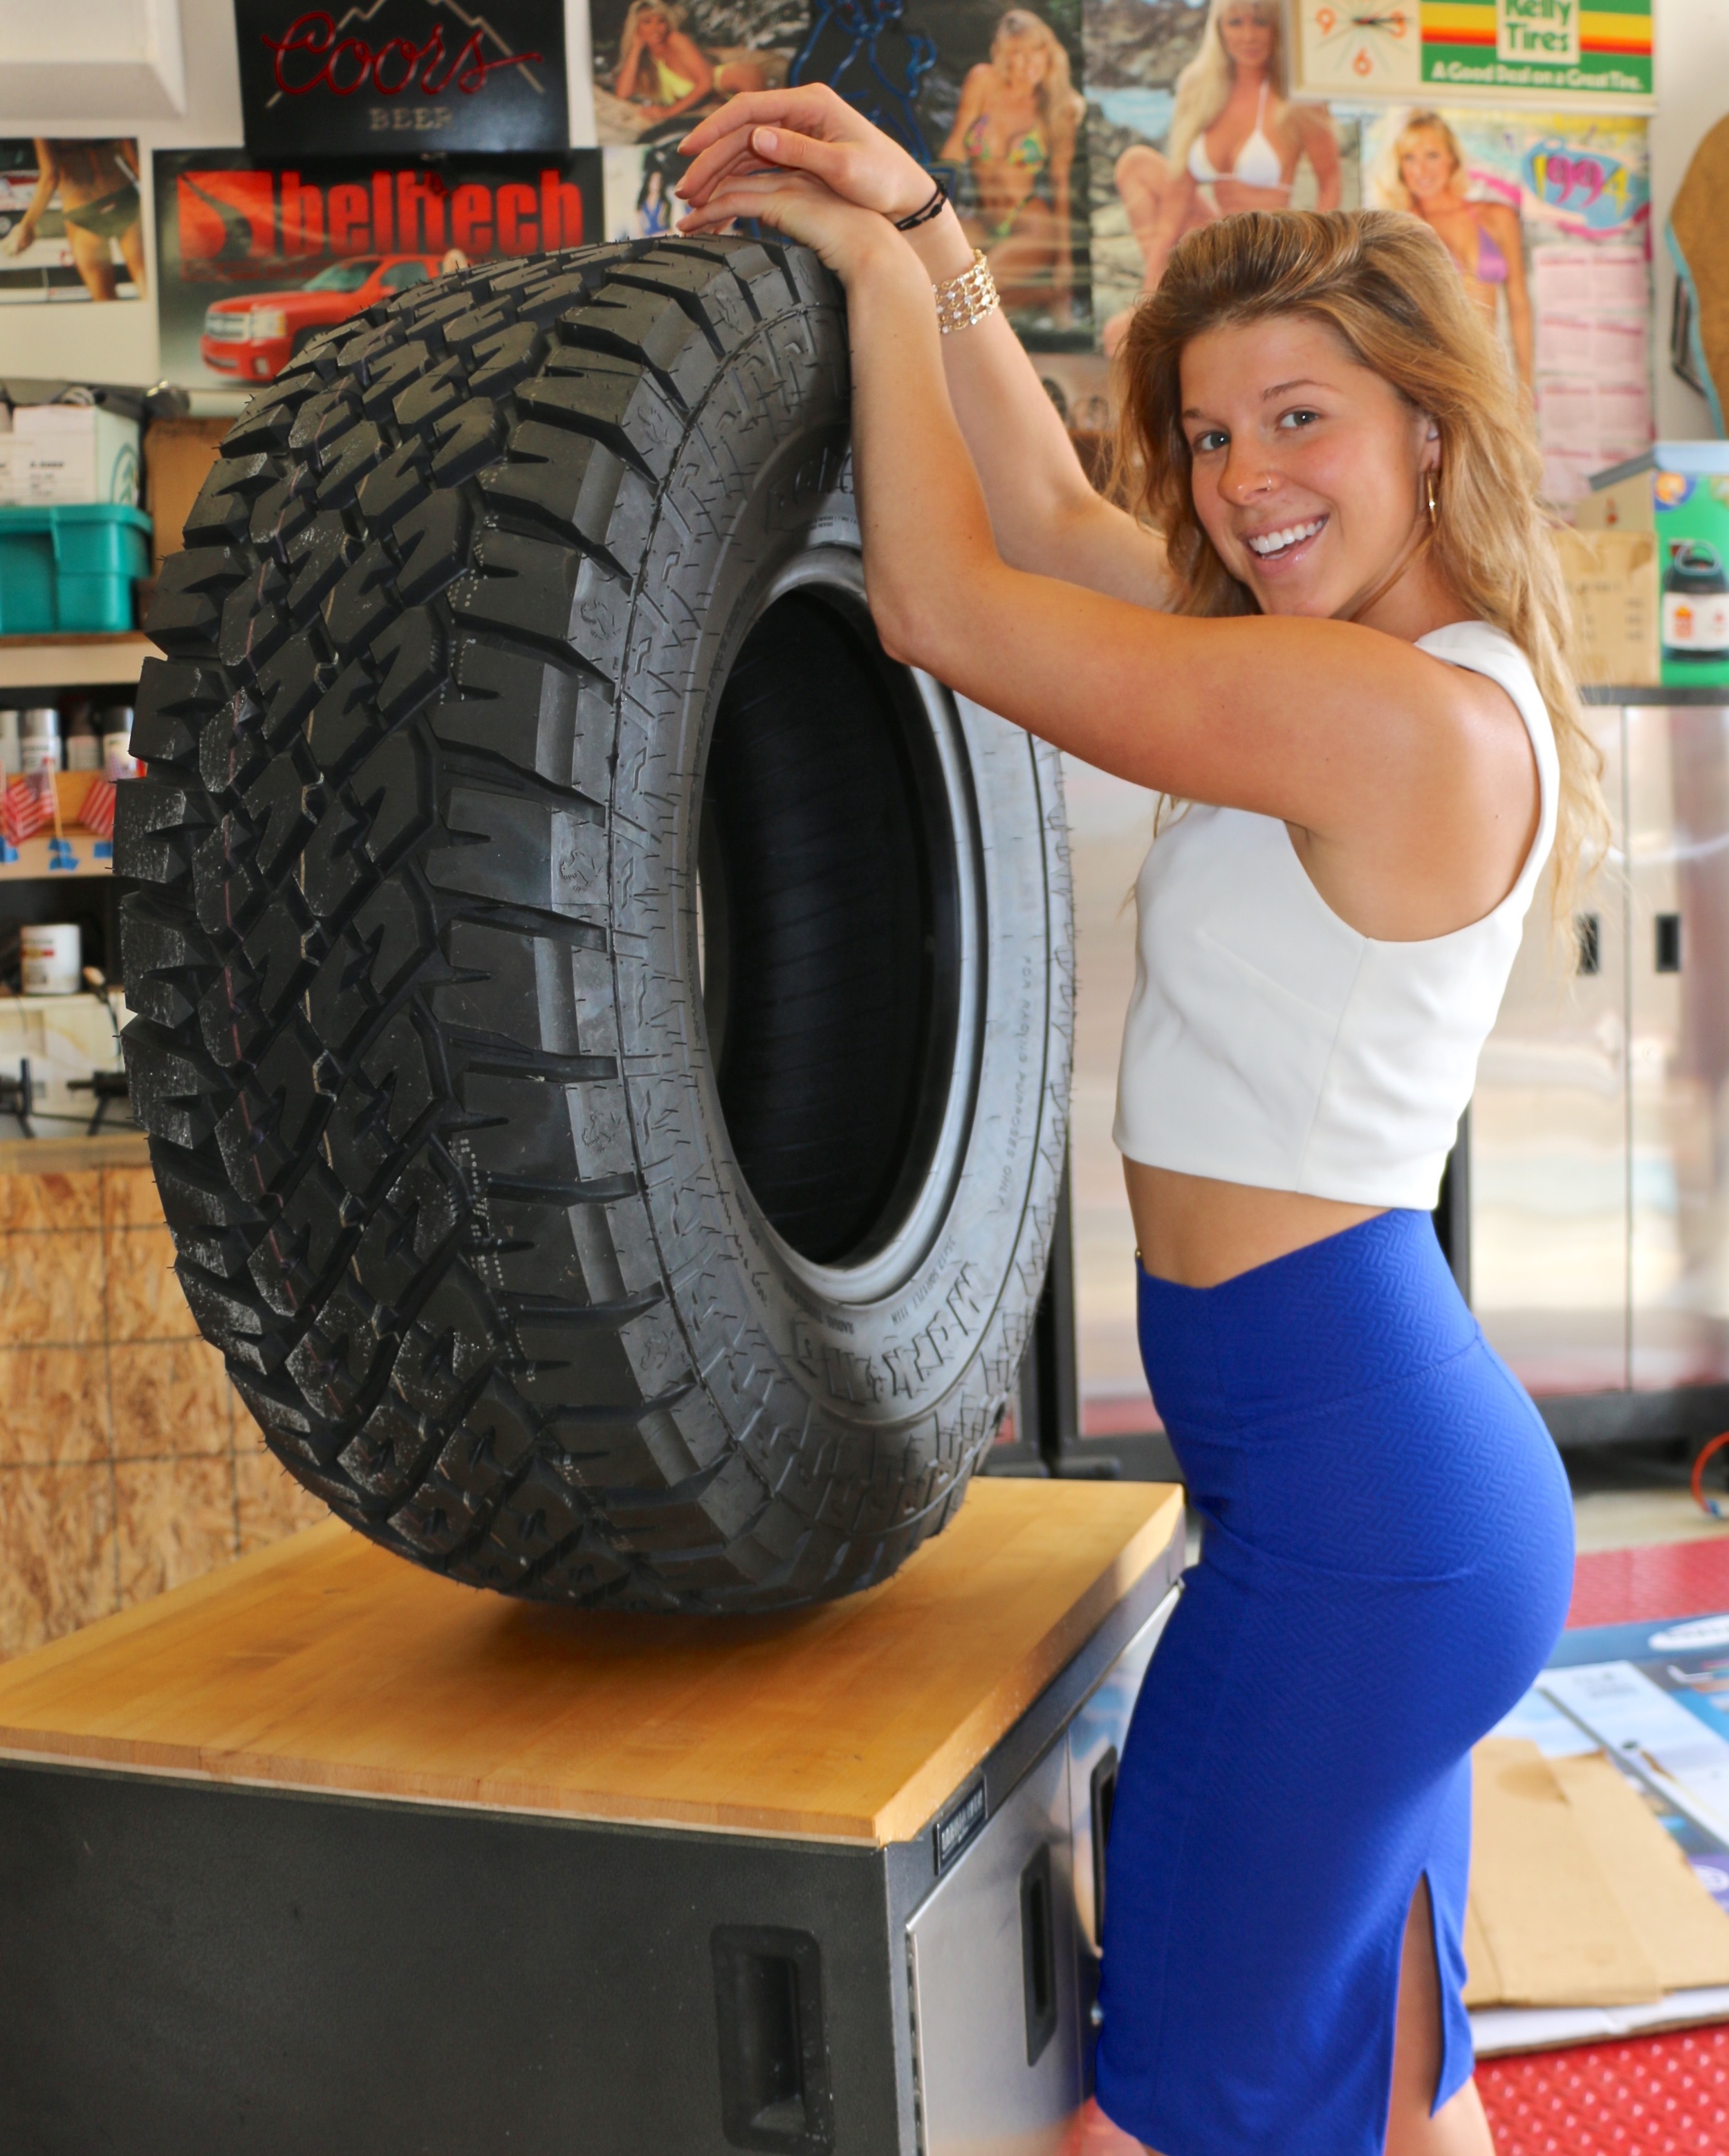
At #9 on the list of the Top 10 is Tire Load Rating. It would seem like tires are about the easiest thing to buy. But if you drive a Vanagon (especially the camper) buying the correct tire with a proper load rating can be a challenge. Never buy a “passenger car” tire. You risk blowing out the sidewall because passenger car tires can’t handle the extreme weight of a Vanagon, especially the camper.

While there are a few companies that still offer tires for the original 14-inch wheels, the selection is minimal at best. Upsizing to 15- and 16-inches will give you the widest selection. Your wheel selection is just as critical and so is the wheel offset, which determines the width of the tire sticking inward or outward of the wheel well. I run 15×7 GoWest alloys with an off set of ET23. The tire therefore sits balanced far enough away from the inward suspension components and the outer lips of the fender. But that works for me on a 1986 Vanagon Westfalia camper model that requires specific c-rated tires, which are getting more difficult to find in 15-inch diameters.
A full camper Type 2 Westfalia (T3) is a heavy beast. The four-wheel drive version weighs more. Both weigh more than 4,200 pounds easily. Then when you add accessories like luggage racks, spare tires, camping gear, new aftermarket bumpers, aftermarket wheels, etc. the overall weight increases. What the means for tires is that they each much be able to carry at minimum approximately 1,500 pounds. That’s called a Load Index. A Load Index of 99 is the bare minimum for a fully loaded Vanagon camper. Tintops have lower thresholds. Only certain tires offer the proper Load Rating Index and sidewall capacity to handle the weight of a Vanagon with this setup. No respected tire installation shop will sell you anything that doesn’t carry the proper load rating, but it’s better to know this yourself.

After going through a set of Michelin Defenders years ago, which didn’t have the load rating I wanted, I switched to Michelin Agilis CrossClimate in 205/65/15 with a “C” load rating in ‘21. It carried a 102T Index. More than enough to handle a heavy Vanagon.
In ‘23 I discovered that my Michelin Agilis CrossClimate tires were recalled for safety reasons. Michelin re-released a new improved Agilis in ‘25. Then a year later abruptly discontinued the tire. That shows you how difficult it is to find proper Load Index c-rated tires for the Vanagon. One day they have a warehouse full, and then the next day you can’t a single tire. As of mid-’26 Kokian is the only company offering a c-rated tire for my Vanagon in the 205/65R15. If I stepped it up to a 215/70R15 there were other options from Yokohama, etc. But that opens a Pandora’s Box of issues with tires rubbing on the fenders and the sliding rear door possibly hitting the tire as it opens. The wider 215 is a great was to go on a 15×7 with a ET23 offset, but I wasn’t willing to deal with the “possible” issues. Not yet anyways.
Just remember load rating is “extremely important” with Vanagon. You should never use passenger car tires.
I’ll touch on wheels again, but briefly. There are more tires available for 16-inch wheel. But these wheels are heavier than the 15-inch. If that doesn’t matter definitely consider a 16-inch wheel. But the further you stray from that factory geometry of the OEM setup when Vanagons had 14-inch wheels, the more likely you are to put stress and strain on other moving parts like the hubs, axles and transmission. Extremely tall wheels and tires can also cause power loss.
I found that a 205/65/15 is close enough to the original diameter and width for my Vanagon.
Before you search online for tires, read the technical data I discovered and linked below. It will provide you with all the information necessary to make a smart and safe buying decision.
You can find the article here. Here’s another article on Load Rating.
If you don’t purchase the correct Load Rated tire you risk a severe blow-out, and that’s the last thing you need in a Vanagon that is already a bit top-heavy.

Moving onto #8 is Rust. The Vanagon is prone to rust, in the seams and around the windows. I’ve written about rust repair work, and I can tell you from experience that it is never fun. The longer you allow rust to develop it will continue to spread. All old vehicles have rust… don’t stress over a little bit of rust. But be aware that it should never get out of control. I wrote a detailed story on how I repaired my rust on the Vanagon’s windows. It’s worth a glance: Repairing Rust.
Vanagons tend to rust along the seams, lower rocker panels, and at the windows. These are areas to watch because once rust starts it does not stop. If it’s a camper version and has the stock refrigerator check for seam rust behind the unit. Any leakage from the refrigerator can lead to rust.
Minor rust repair on Vanagons is not difficult to repair, but once the rust eats away the metal the job becomes challenging. Best to let an experienced body repair shop handle severe rust issues, unless you feel skilled enough.
If you lift the rear hatch of a Type 2 you will see two rubber plugs at the bottom. Carefully remove them and you will likely see rust and maybe some water. For whatever reason after a rain the water travels to the bottom of the hatch and sits there, slowly leaking out, or becoming trapped. Check that area. The corner of the front windshield is another area that frequently sees rust buildup. All the windows in fact are prone to rust along the area where the rubber seals meets the glass.


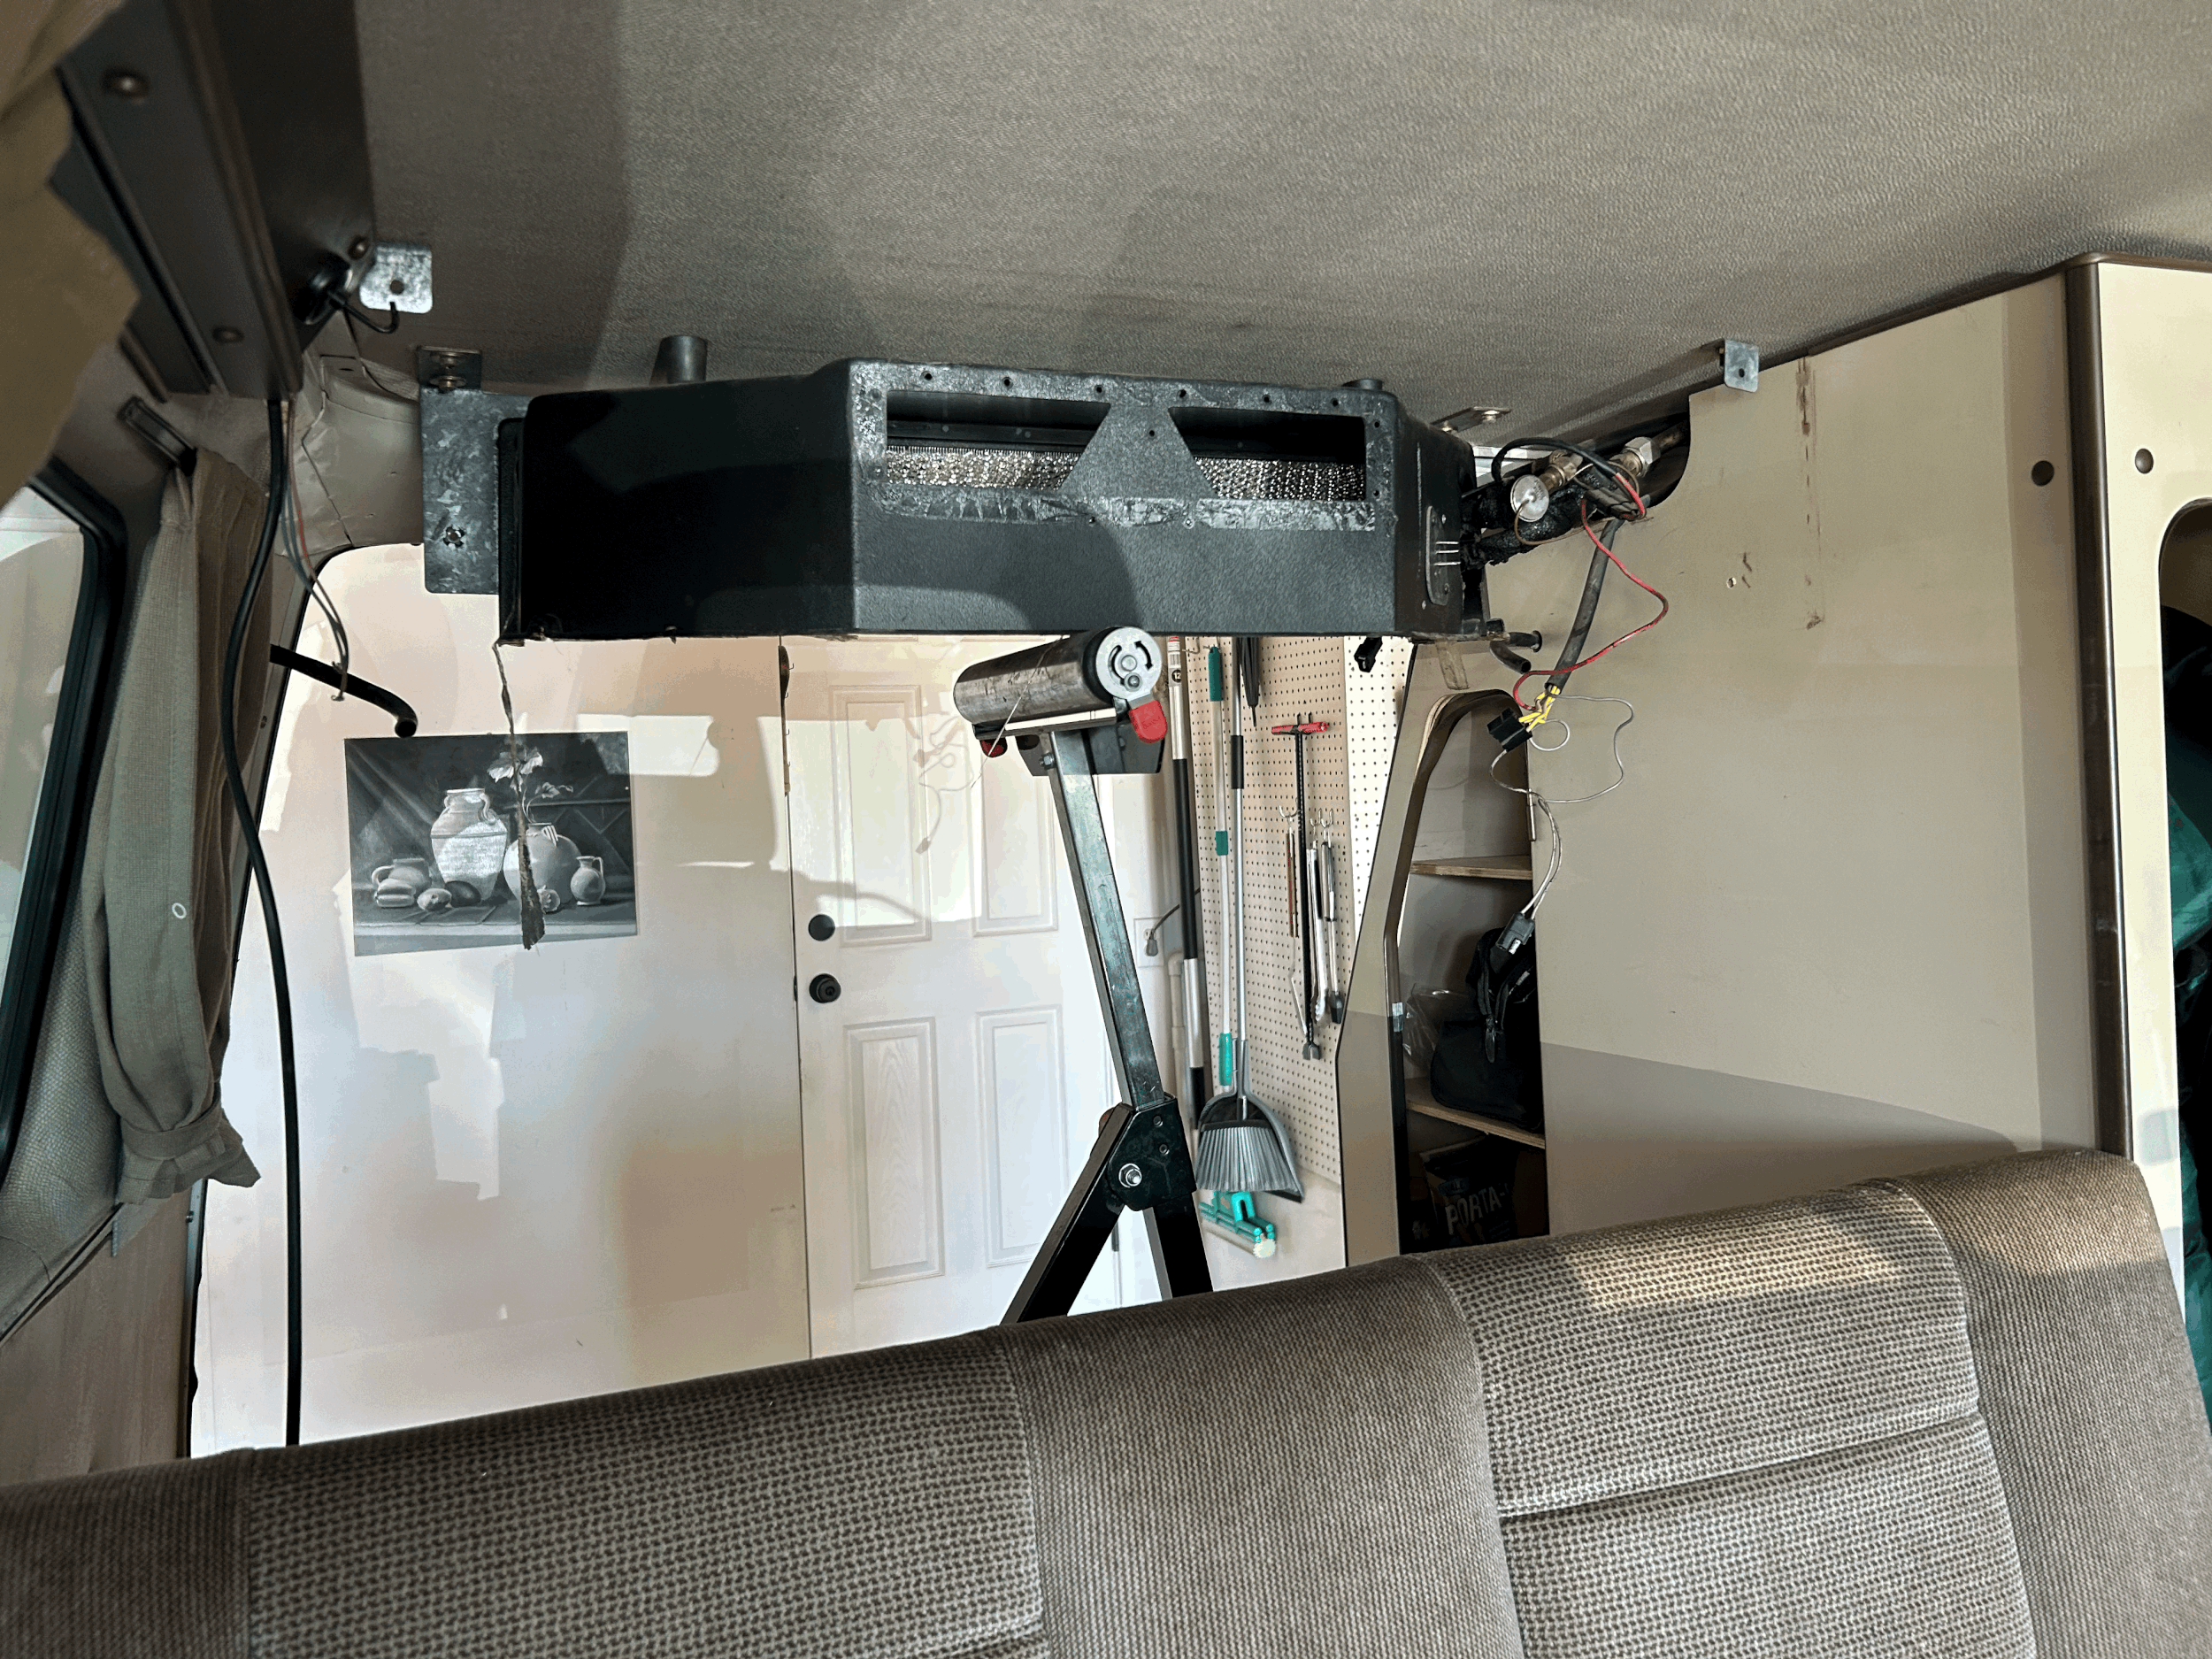
At #7 are the stock Coolant Return Pipes from the radiator on water cooled models. For whatever reason VW decided to install plastic coolant hoses on Vanagons from ‘86 to ‘91. Plastic does not age well.
Take a look under your Vanagon. If you see plastic or rusted steel coolant pipes running from the radiator up front to the rear of the vehicle plan on replacing them before you get stuck by the side of the road.
If you have the patience and confidence to do the work, the Bentley manual and some good tools will be required. You may have to remove the fuel tank and that’s a big job without a lift. But it might be less frustrating to take your Vanagon to a qualified mechanic. No joke those pipes are crammed in there! To learn more check out this article on coolant pipes. It’s extremely detailed. Removal of the fuel tank is often required.
The dreaded Flashing Red Light on the dash has to be considered #6 on the list of things to watch out for on the water-cooled Vanagon. I heard of an owner who was selling her Vanagon with the red light blinking. She said she had no idea why and failed to sell the vehicle because of it.
What causes this light to start flashing? It is a host of things, or something simple. It can be either a bad temp sensor, a bad ground wire, the broken wire leading to the light, or something to do with the expansion or reservoir tanks at the engine. Find out if they are cracked. The plastic tanks crack all the time. Air bubbles in the coolant system will trigger the red light to flash. Low coolant levels trigger it, too. Some of this work can be done easily. But unless you understand the cooling system completely and know how to use a multi-meter it’s best to hire it out. Here’s another article on the entire cooling system worth checking out. Don’t stress about a blinking light. Try to pinpoint the cause after doing research. I had experience with the red blinking light several times, and it turned out to be a coolant-level issue. A red blinking light on the dash can be serious. You can destroy an engine if you drive for very long with a red lighting flashing. Do not ignore it, rather, pull over in a safe spot and dig into likely culprits like loose wires, grounds, coolant, etc. Once you’ve exhausted all possible culprits and can’t determine why it is blinking, have it trailered to a shop.
While you are at it check out the condition of your Expansion and Reservoir (overflow) Tanks. That’s #5 of things to consider. These are easy to replace and are available everywhere. Do not buy cheap knock-offs. Go to a reputable Vanagon parts supplier and buy German-made if possible. These plastic tanks age poorly, and small cracks lead to big trouble. The filler caps on Expansion Tanks are under pressure and they lose their ability to seal. Be sure to replace it as well.

Coolant for Vanagon is a specific product. At the very least get the best quality that’s phosphate-free. Swapping either the expansion or overflow tank can be done at home. But you can also get air in the system and that can lead to overheating unless you know how to burp the air out. Again, there’s lots of good information on how to do this at home.
Never go to a quick lube place to change oil or coolant. Trust me they do not understand the Vanagon. BTW, I just swapped my old plastic expansion tank (for the second time) for a tank made from aluminum. I’ll write about it soon, but in short it will never fail like plastic. Small Car and GoWesty have these aluminum tanks in stock, and they are used frequently with those performing Sube swaps.
At #4 is Mold. Yes, you read that right. But it’s mostly a problem with Westfalia campers that have an upper bed and/or a full sink in the galley. I’ve never heard of a Tintop having mold issues, although anything is possible.
If you are considering a full-camper Westy take a peek at the freshwater tank inside the vehicle. There are several hoses that run from the tank inside to the sink, and also to the hookups on the driver’s side. If these have never been replaced do so now. These hoses should be clear and free of any discoloration. The tank itself needs to be cleaned after each camping season. Typically vinegar and water do the trick. Be sure to rinse thoroughly.
Mold can also develop in the upper bunk tent simply because of condensation. After camping always allow the upper tent to dry before closing the fiberglass top. If you experience rain it’s important that water doesn’t get inside the tent fabric because it will slowly turn to mold. There are products to remove it, but it takes elbow grease.

At #3 is Fuse Panel Replacement. This is where 90 percent of all electrical issues either start or end. Bad grounds, blown fuses, missing fuses, wrong fuses, and split wiring, are all problems that do weird things to the Vanagon.
Fuse panels are located on the driver’s left side at the dash and can be replaced with new panels. This work should be handled by a qualified Vanagon technician who understands wiring.
Never work on this yourself without a Bentley manual and always unhook the negative side of the battery(s). There are several ground trees next to the fuse panel. These become corroded over time or become loose.
Pay careful attention to those grounds they can cause all sorts of other issues. Cleaning negative grounds is easy to do with minor tools and some patience. I suggest you find a Facebook Vanagon group and ask questions about cleaning grounds before you start. My favorite group is Vanagon Cafe.
The #2 concern is the wimpy Stock Brakes and Lines. The stock brakes may have been good enough when speeds were low, but not today. Drum brakes are the worst. Discs up front should be mandatory. Like a beefed-up front anti-sway bar, good disc brakes make a huge difference in drivability. If you get just the front discs that’s a great start. There are rear disc kits too. But I don’t have any experience with them.
It’s easy to have your brakes inspected by a good shop that specializes in Vanagons. I’d recommend immediately going with bigger disc brakes upfront and nothing but good German pads out back. There are several kits for this purpose. Don’t cheapen out with your brakes and the lines. Brake work is for experienced mechanics. Several companies offer bigger disc brake systems. I run Big Brakes, and they make driving easier and safer.
The #1 issue with Vanagon T3 is the Head Gasket Leak.
This is a complicated issue and a misnomer of sorts, compounded by the fact that leaks coming from the cylinder heads are never good news. Whatever is causing the heads to leak is not DIY-friendly, unless you have the time and tools to undertake the project.
Some say the VW head design is flawed. Others say that corrosion/metal pitting can be the cause of leaks. GoWesty suggests flushing the engine’s coolant every two years to prolong the life of your seals and gaskets. Flushing the coolant can prevent corrosion buildup.
There are cylinder head gaskets and there are water jacket seals. Adding to the confusion, there are seals on each of the cylinder head tubes. Leaks can happen anywhere along the route. Even the VW valve covers have cork seals that fail.
There are cheap fixes and more expensive fixes. Is there a bad/stuck valve, or is it something else? Do you have to pull the engine? That depends. YouTube can be your friend because some great videos detail the removal of cylinder heads and the causes of leaks. Don’t freak.
Always check to see if the leak is coming from coolant lines first, and not the cylinder head. The cost to repair a leaking cylinder head can range from a few hundred dollars to more than a thousand dollars if the heads have to be replaced or rebuilt. As for coolant, any good-quality phosphate-free propylene glycol is the way to go. Look for the blue-green glycol.