Photographing a Car Like a Pro
Digital cameras and phones have made it so easy to take great images. While they can compensate for exposure and other settings, they can’t compensate for composition and basic lighting techniques. All of the images on this page were edited in Lightroom. There was zero Photoshop work done. These images were shot using only natural lighting techniques, no tricks, or added lighting.
Car photography is extremely challenging. To put it mildly. It is even more difficult if you don’t know post-production software and Photoshop. But that’s for another post.
Think of a car as a huge mirror and the open sky as your softbox, just like shooting in a studio, except you are outdoors.
Let me explain. The car’s paint finish reflects everything around it — from the trees, plants, and people — to the street. It’s extremely important to have the best possible light falling on the subject, and you want to avoid reflections at all cost.
You do that by photographing the car when the sun is rising, or as it is setting. While you might not be able to remove all the reflections, it will make it much easier to do so in an editing software.
The light temperature is cool in the morning and gets warmer in the later afternoon. You will get a blue hue in the morning hours and a yellow hue in the late afternoon.
You can almost get rid of most reflections if you shoot in the light at these times of day.
I always start shooting (unless I cannot for some reason) an hour before the sun sets, and I continue to shoot until dark.
You need a solid tripod to do this because your shutter speeds get very slow and there’s no way to hand-hold it without blurring the subject. Almost all professional car photographers shoot in the very late afternoon, even with action shots.
On a side note: Long exposures are easy, but it wasn’t always that way. When I began shooting film in the late 1980s you had to be careful to push the exposure Plus or Minus, or you could create a color shift — called reciprocity failure. But that doesn’t happen much in digital.
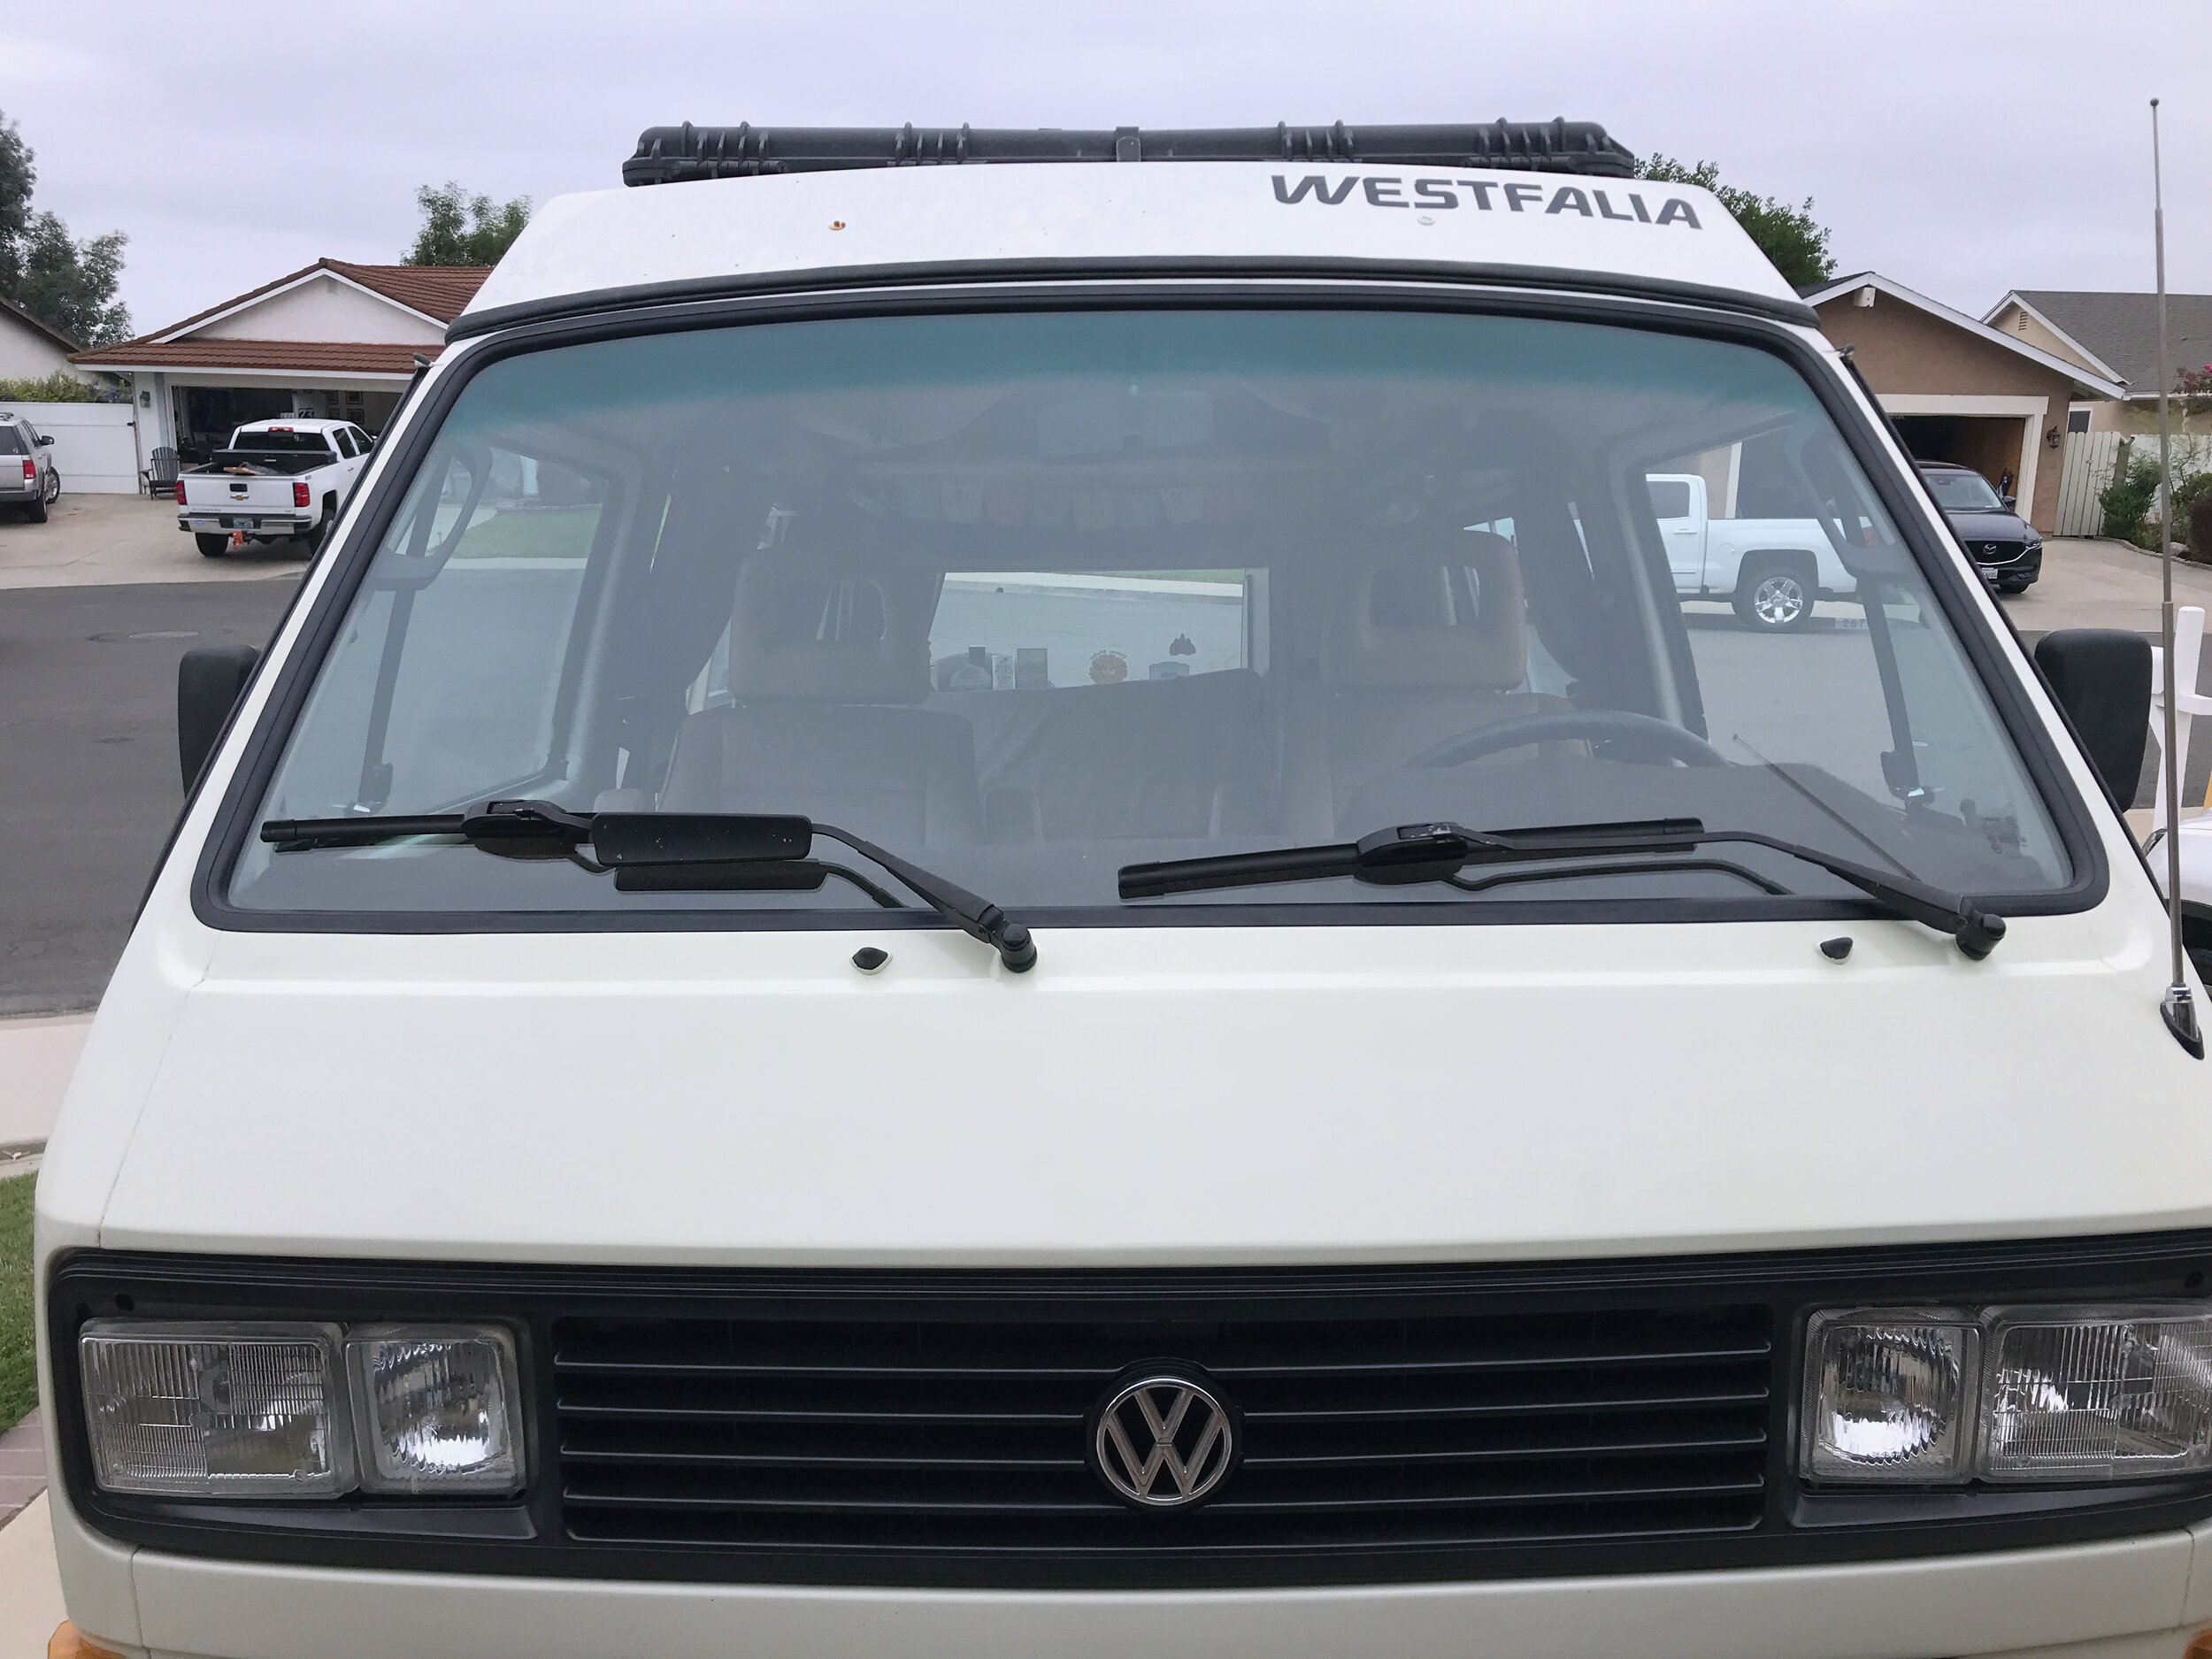
I like to start with a 3/4 view off the front and then I spin the car around until the entire car is covered. The sun should always be at your back or off to the side and if you are shooting in the correct light, there should be only soft shadowing off the car. If the shadowing is crisp or harsh, then you are shooting too early, wait for the sun to get lower in the sky.
Another tip: Expose for the undercarriage where the light drops off and then average the light hitting the exterior of the body panels. That should be your exposure setting. Don’t shoot in Auto mode. Shoot in Manual mode.
This could have been an excellent image. But you do not want “mergers” in your image. The trees in the background are unwanted and needlessly distract from the image of the car. If you want trees or poles or whatever in the background move the “subject” much further away from them and lessen the depth-of-field in the camera so they become softer and not so harsh on the eyes.
Do not shoot with any F-stop under F11 or you will see a dramatic drop-off in sharpness from bumper to bumper. If you want to blur the background, simply move the car further away from the background, change focal lengths, and don’t adjust the F-stop, keep it at F11 or F16 (or more).
Focusing: This is where novice always goes wrong. They don’t know where to focus. Always focus on the car’s side mirror facing you if the car is at 3/4 to your view facing forward. Focusing on the grille or the windshield will only create a look that is sharp in the front and soft in the rear end. Use your depth-of-field meter if you have one. If you are shooting the rear of the vehicle in 3/4 focus approximately at the door handle, and triple check your focus using the depth-of-field meter. DOF meters in modern cameras will tell you what’s sharp and what’s not. Re-focus and increase the aperture setting to f11 or more.
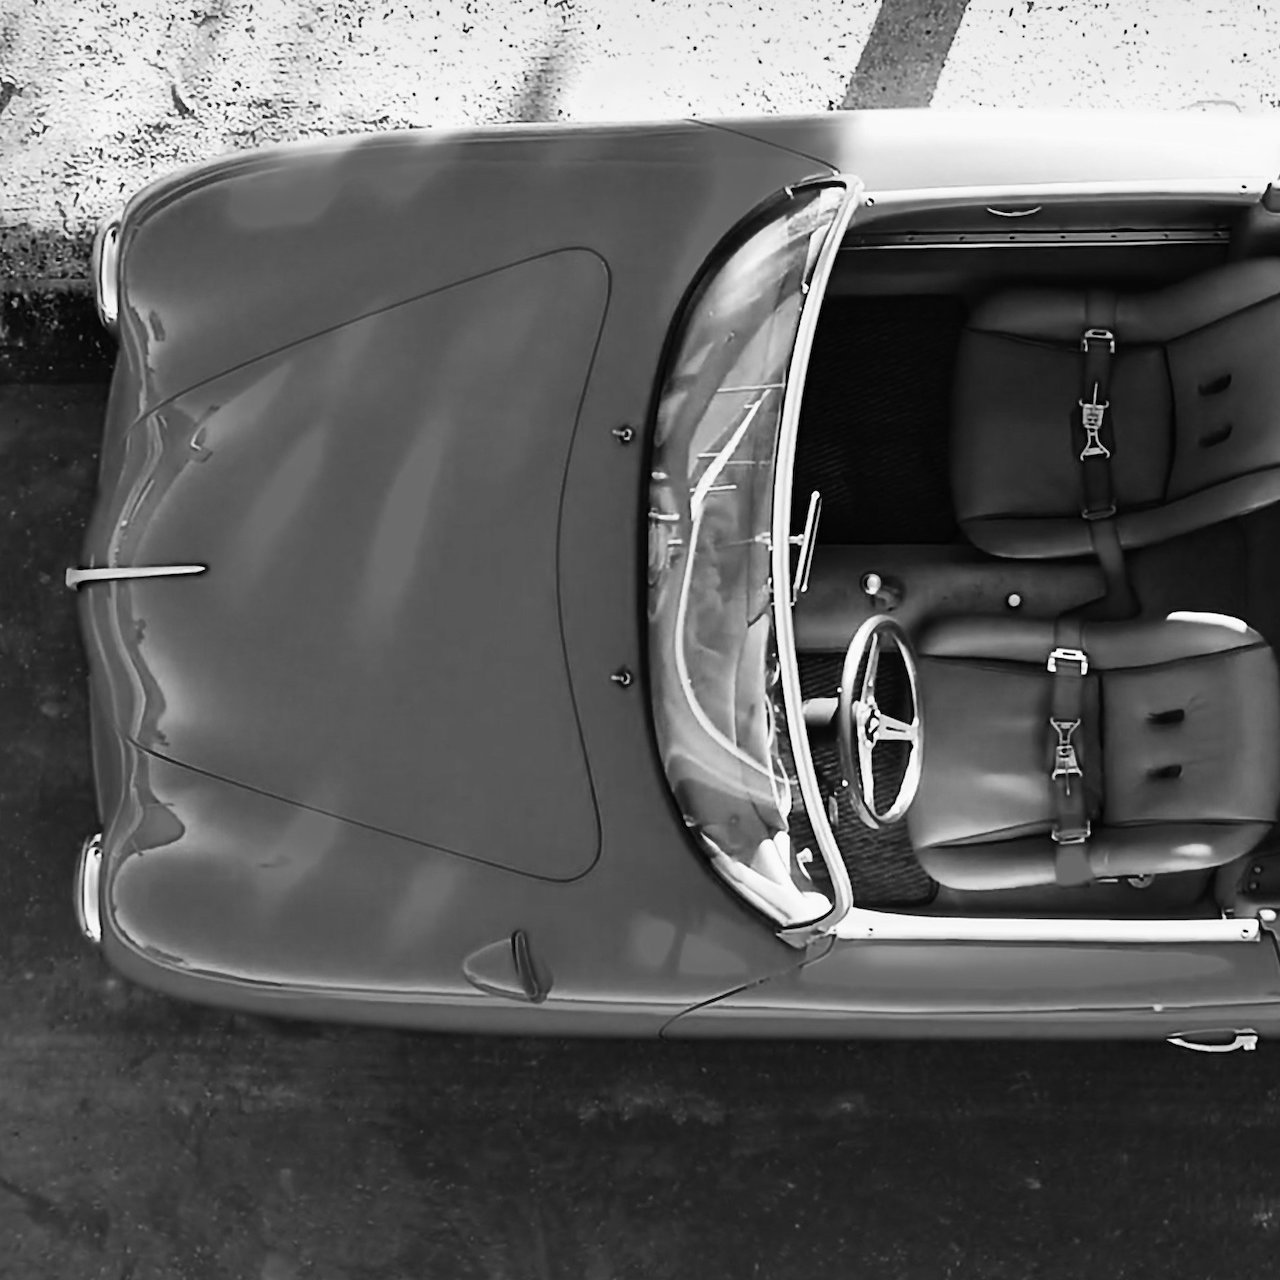
Try this from several different elevations, low to the ground and from a ladder, too. Add tree limbs, and other things in the foreground to create a dimension to your image. Experiment.
Watch where the light is falling: If you are getting it right you will see the sunset (or sunrise/clouds) in the car body, and nothing more. Use a slight telephoto (85mm to 135mm) to add a compressed feel and that smooth paint finish will pop even more.
Use a remote shutter release or lock up the mirror if possible when shooting long exposures for the sharpest images. Mostly, watch your background! It's important to keep the background free of obstructions like trees, poles, etc. Find areas that are wide open in the background so that the vehicle becomes the sole focus of your image.
Incidentally, if you have to go into PhotoShop or Lightroom and need to tweak the hell out of your image, you've done something wrong with the original image. While we've become a world of post-production addicts, a good photograph will need very little post work and should stand on its own.
Experiment and enjoy. All images by MainhouseCreative.com.


